Showing posts with label design. Show all posts

Sunday, 17 August 2014

SISTERS OF THE SWOON | Summer Stock |


Hello lovelies! 
As some of you may not know, I've finally launched my online Store! I'm selling and hand making Vintage Reproduction clothing!

I'm also doing a few costumes and Cosplays too!

HERE I am selling my first selection of items, a few Bandeau's from the 'summer' we were having but they're equally as cute anyway!

Here's some extra Images of each Item as Big Cartel only allows one photo for each product!

FLORAL SIZES SMALL & LARGE
£4 


POLKA DOT SIZE SMALL
£4


Both are so so so cute!! I hope these images help! 
Keep tuned for my Halloween and Winter posts! <3

LOTS OF LOVE
xxx


Saturday, 12 July 2014

Fabric Haul | July 2014 |

Hello my lovely lovelies! I've been fabric shopping and I thought I'd show you what I purchased! Just because I love fabric... I can't be the only one?

I've been stockpiling a few new prints for a project, and these were along with them!


Navy Polka


Green Polka


Blue Polka


Pink Ditsy


Lilac Ditsy

All of the Cotton Prints were around £1.30 per Meter which is very good in my eyes!


2mtrs of Black Lace, £1 Charity Shop WIN.


To accompany the fabric, my patterns Id ordered from eBay arrived from america! How exciting!
I got a bralet pattern & I chose some lovely swing dress ones too! 

that's all!

love love
xxx

Wednesday, 14 May 2014

Fabric Haul ❤ May 2014 ❤

Just a quick post about Fabrics!

Unless you didn't already know, I LOVE TO SEW.
So I thought I'd share a few fabrics I've bought recently, and My new Sewing Machine too!

I'm looking at studying an Art Foundation next September followed by Textiles or a Costume Design Uni course, I just love designing and sewing and seeing it all come together!

I'm taking a year out after college to brush up on short courses in Pattern Drafting and Garment finishing.. maybe even Screen Printing and I'll post my progress here!

I'm going to be making Clothes & Costumes too to add to my Portfolio for Interviews so stay tuned for Cosplay Galore!

Any how, I'll show you my Fabrics!


I picked up this Yellow Gingham to make a skirt with, Gingham & Checked prints are all over SS14 now so I thought I'd do my bit and make something in fashion! This fabric was £2.99 a Meter.


I also picked up this lovely Navy Polka dot Fabric, £1.99 per Meter, to make a summer dress with!

The Grey Fabric was 2.99 a Meter and I'll be making some Tara Starlet Vintage Repro high waisted shorts with that! 

And then there's the Nylon Peach fabric, Which I feel is perfect for lining Dresses or Skirts with! £1.50 from the off cuts bin :)

This is my new Sewing Machine! It's a Frister & Rossman 1972' 35.
Dad knew I was taking a textiles route in my career now and he took to eBay to find me a durable machine, this was only £40 and we picked it up from someone a road away! How convenient!

It runs like a dream! So reliable and even folds into it's own table for a proper work space! get in!


My mum went through all of her old Patterns and Books about Dressmaking and Fashion and gave me loads of things! Super grateful and It means they've been given a better life away from the musty old Shed!
The Queen tin was my Nana's, It's full of embroidery Cotton and I think i'll be reluctant to use it for sentimentality, i'll just keep it safe for now!

I have finished my Gingham Check skirt and will soon post and OOTD with it in! Including all of the Info on how I made it!

Hope you liked this rather crafty post!

love love
xxx

Friday, 2 May 2014

| Simple D.I.Y | Pom Pom Pillow Cases |


Here's a simple textiles D.I.Y for you to try at home! It's very sweet and adds a little Kitsch touch to any plain bed cover!

What you will need:

  Pillow Cases

 Pom Pom Garland

 Needle & Thread
or
 A Sewing Machine


Step One:

Choose your Pillow cases & Garland.
I purchased by Bed covers from Tesco, But they are no longer available! However I found this cute monochrome Zig-Zag/Stripe Bedding in Wilkinson's Available here.
Alternatively, There's also a Monochrome Dog-tooth Version, here.

I purchased my Pom Pom Garland from Hobbycraft where it's £2.00 per meter. It's available to buy online from their website in lots of colors here.

I got Three Meters and had some spare from this D.I.Y :-)


Step Two:

Pin your Pom Pom Garland along the seams of your pillow case, taking care to observe the way it hangs, if you want your pom poms to stand out you need to attach them so that when the pillow is turned the opposite way they stick out! 
So sew the the opposite way to the way up!
Tip:
Don't forget to choose a thread color that blends in.


Make sure you keep the fabric and the Garland taught so they sew straight, you don't want to be left with parts that are loose or the Garland will catch easily!


Make your way all around the pillow case leaving the opening, Once your pillows are lined up the Pom Poms will meet in the middle anyway!

That's Virtually it!


Step Three:

Fill your pillow cases with pillows and enjoy!!

They are so sweet and make any bed a little funky! Use clashing colors to get a really Kitsch look!
Why not add pom poms to throw pillows too? Or Lampshades! I just love how crazy and cute they look! That's all for now, Hope you give this one a try!

Love Love
xxx


Monday, 28 April 2014

❤ D.I.Y ❤ Urban Outfitters Inspired Pastel Frames ❤


Hey!
 I'm bringing you another Super Great D.I.Y That's Cheap and Cheerful for all you Uni Students looking to put color into your Dorm Rooms! 


You Will Need :
❤ Acrylic Paint Assorted Colors & White!
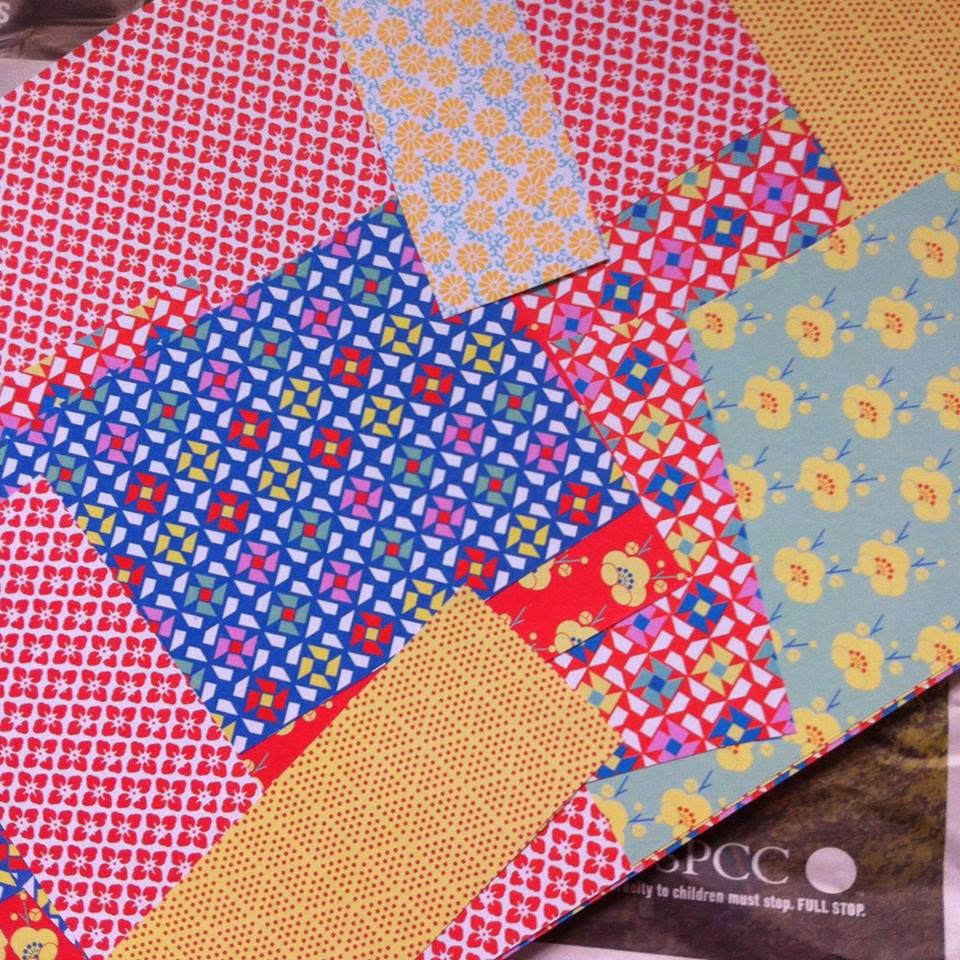
❤  Patterend Paper
❤ Frames (CHARITY SHOP!)
❤ Ribbon (For hanging)


Step One:

Get hold of an assortment o frames from your local Charity shop, There's no point in new ones, once they're all painted they'll look awesome! I got all of the ones above for under £4!
Super cheap and good for the world!

You'll need to disassemble the frame so you just have the brim. Like this;


Step 2:

Now it's time to paint! Choose a white paint to begin with & base coat your frame! It might help to sand the frame first if the frame is proving difficult!


Once you have applied two or more white coats and allowed them to dry, It's time for color!

Step Three:

Choose your colors, I had loads but I went for a pastel purple, green & pink! I mixed these from white paint, red, blue & green!


Apply around 1-2 Layers, making sure you get into all of the details!


If the drying gets a little tedious to wait around for, speed up the process with a hairdryer.. a little trick we use in college for scenic design!


Step Four:

Now your frames are painted, you'll probably need to give the glass inserts a good clean with some window cleaner...trust me!


If your photo doesn't quite fit the frame, you can fill the spaces with some colorful paper.


Choose a pattern that you think fit the photo.. or go wild a clash the colors!


Take the glass inset and draw around it onto the paper, then cut it out. You might need to go half a centimeter smaller just to fit it properly.


Step Five:

Place the glass insert into the frame and put the photo face down onto it, then lay the paper pattern facing down on top!


You then might have to re-seal the ram like this with masking tape, or you have to press the frame latches back down with a knife.


If you're hanging these frames up and there's no hook for them, Why not try attaching sweet Ribbon to the back with a few staples each side, It adds a Kitsch look when the ribbon shows. Good or that 'Awww' factor!


And that's pretty much it! They look so cute & unless you tell someone (my secrets out) friends will be asking where you got these adorable frames from for sure!


Thank you for Reading!
Lovelove
xxx


Saturday, 22 March 2014

My Final Major Project | March 2014 |

Hello! Sorry I've been away for a little while, It's been my College FMP these last few weeks with the live Theater Performances running from the 19th-21st!

Me and my fellow Techies, have been running a promenade theater performance for young school children about the human body for our final project this year.

The general idea was that you made your way through the experience, passing through the eardrums into Billy's body where there were Drummers. 

You then made your way past the lovable Iris in the Eye room, through a corridor into the nostrils where you were greeted by the disco dancing boogie boys. You then traveled into the Mouth Room were Mr.Mouth had a game to play.

 Past the touch wall and into the Operation room where they played a Puzzle Piece game!
The finale was a singing of Heads, Shoulders, Knees & Toes in the Brain Room which drove us crazy after playing it all week haha!

It consisted of lots of structural aspects including tent like rooms and lots of UV Lights & LED's.

 There was also a butt-load of costume and make-up which I was in charge of and I can honestly say I don't want to see another sequin or feather for a while now! 

Although It's been a pain in the bum at times (3 hour get out!!) it felt like we were working in a Fun House? We had to reset each room every time and you could easily get lost in our theater layout haha!

Anyway, enough babbling, I'll share the Photos, I know it's not spectacular, but from a bunch of kids that would rather sit on photo-booth and warp their faces than do anything (lolol) We did good!


The Ear Canal Entrance


A Crawl Tunnel


The Ear Canal


Eye Catching Details for Special Needs Customers


Iris' Eye Room (Unfinished)


The Bogey Canal


The Boogie Boy Dance Floor


The Teeth Corridor 


Mr Mouth


Ropey Abyss


The Touch Walls


Jack & Jill Finale Games


The Overall Ceiling & Scale of The Layout


Busy Body Billy


Gold Sparkles on Exit

I'll post the Costume Pictures in another post!

Hope this explains were I've been!

love love
xxxx